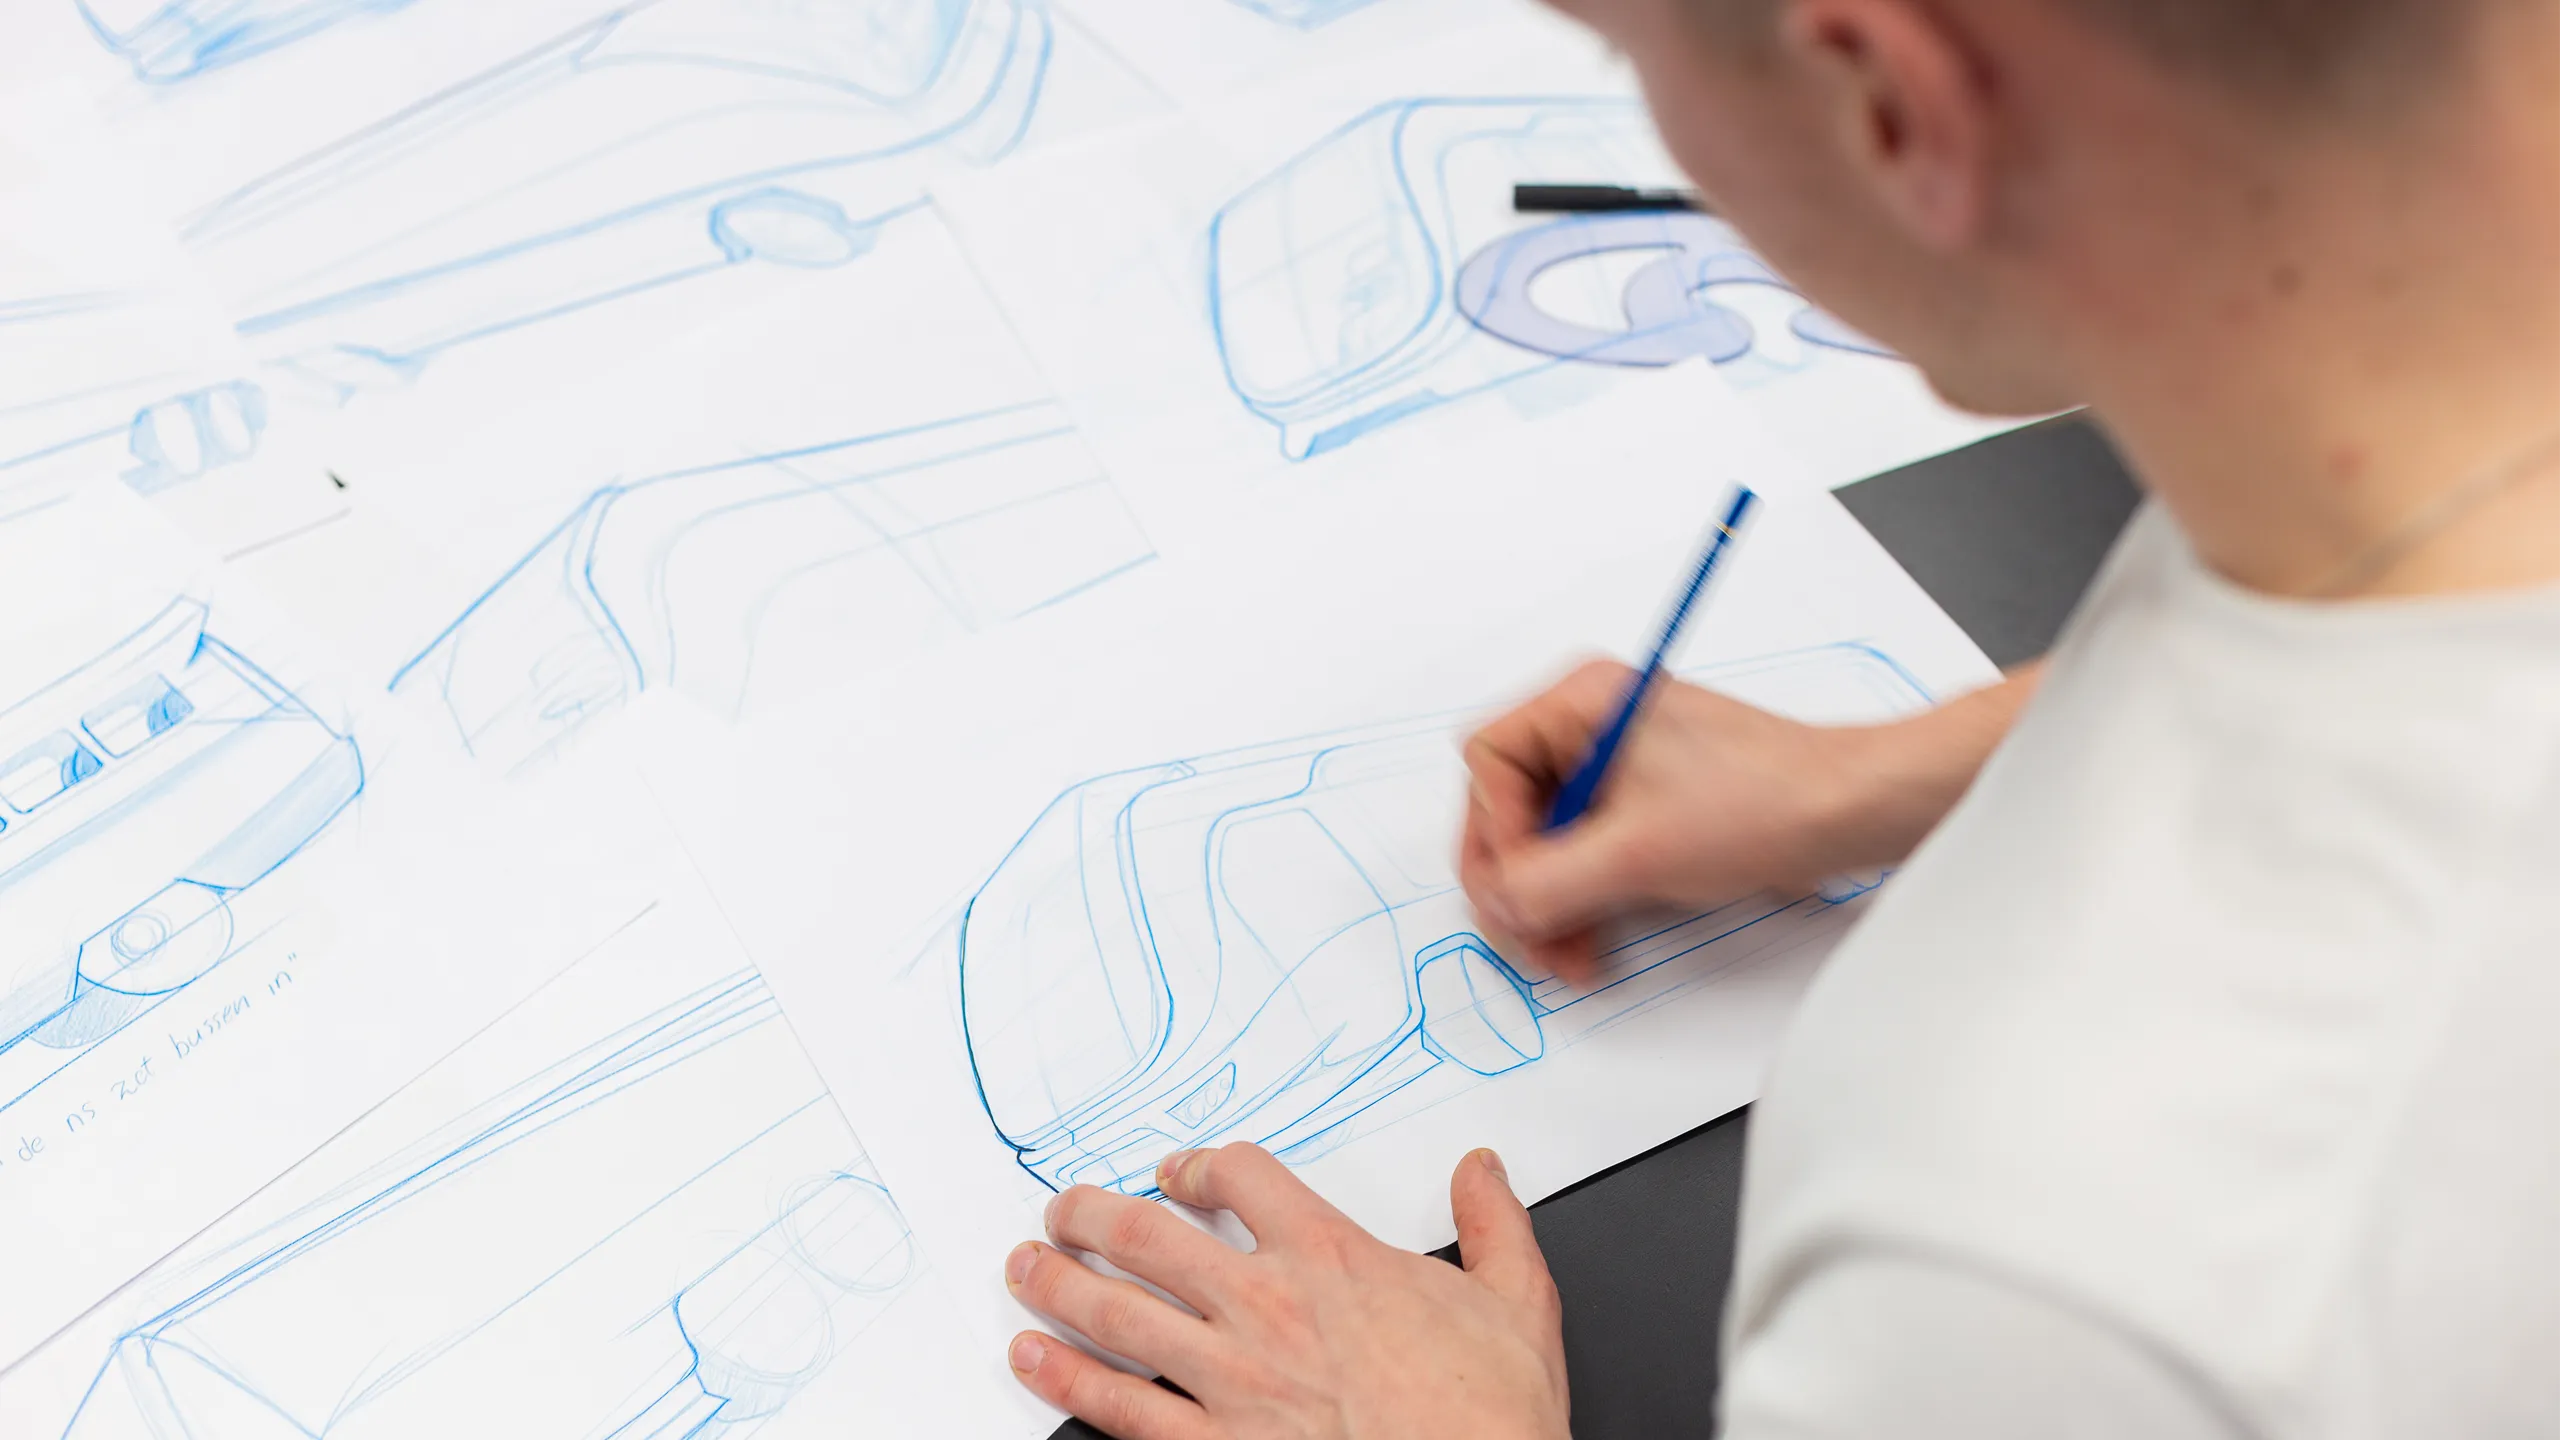
The design phase in the product development process is the most visible. We create sketches, develop concepts, and produce the first models. Everything revolves around creativity in the service of the assignment. Our multidisciplinary team works in a structured way and regularly reports on progress. This keeps the client informed of the lead time, costs, and the outcome of the design process.
In this phase, your product comes to life.
The design phase in the product development process is the most visible. We create sketches, develop concepts, and produce the first models. Everything revolves around creativity in the service of the assignment. Our multidisciplinary team works in a structured way and regularly reports on progress. This keeps the client informed of the lead time, costs, and the outcome of the design process.
The creative process begins with a brainstorming session, usually held internally in our specially designed brainstorming room. The GBO Innovation makerscarefully selected based on their affinity with the subject, and sometimes supplemented by creative people from our client, works together in a structured way to generate new ideas. The results can consist of written ideas or sketches that serve as the basis for the next steps.
Building on the results of our brainstorming sessions, we develop various concepts. We discuss the results and combine promising ideas. With the earlier mentioned Product Requirements Document (PRD) from the analysis phase in mind, we work on several unique concept directions. We often start with quick hand sketches, known as ‘blue sketches,’ to quickly visualize the direction. From a wide range of sketches, we then select the three most promising directions. We create an initial CAD Model that also takes the internal architecture (components like PCBs, batteries, etc.) into account. By defining these volumes, we establish a realistic starting point for further development. Ergonomics, user experience, and all other elements of the project proposal come together in a consistent design language. Technical aspects crucial to the functionality or structure are often tested using (initial) models, also known as ‘prototypes.’ Depending on the complexity, timeline, and budget, we can conclude this phase with a 3D CAD model.
We can create these models in various ways, both by hand and using a 3D printer or CNC technology. A quick method is shaping a volume in foam, wood, or even cardboard. For larger models, this offers a good three-dimensional impression.
Another common approach is to draw the product concept directly in CAD.With this data, we can print a volume model using one of our five 3D printers, which are used on a daily basis throughout the development stages. These models are invaluable as they provide early insights into sizes, ergonomics, and possible assembly of parts.
In projects involving international teams, the data can be converted to a 3D print at any location, allowing the same models to be assessed in different places.
These various models offer a clear view of the development and often mark important decision points in the process.

With sketches, we can quickly visualize the direction in a communicative way.
Involving the target group early in the process provides a good picture of their usage habits and acceptance of the product. However, users will mostly compare it to the current situation and may be accustomed to working with the product. This requires careful observation and well-considered conclusions. It is also essential to compare the results with previous user research conducted during the analysis phase.
In some cases, volume models are sufficient for user tests, while in other cases, a working prototype is necessary. For the latter, it may be useful to use both a functional model and a design model to conduct a representative test.
The final design brings together all the information and insights obtained in the previous steps. This forms the visual summary of what the final design will look like. Additionally, all necessary conditions must be known to successfully start the engineering phase. To realize this final proposal, we use computer renderings, which are photo-realistic images generated based on the preliminary CAD files of the new product. This focuses primarily on capturing the key external features.
We create an initial proof model. This model provides enough confidence to move forward into the development phase (engineering). Depending on the requirements for the Proof of Concept model (POC), various prototype techniques and materials can be used. In the development phase, all aspects are added that prepare the product for mass production.
Flip Vossen
Designer
“As a product designer, this step usually begins with a dynamic brainstorming session. Here, quick, intuitive sketches take center stage. It’s a process where freedom and experimentation are key, essential for developing innovative and unique product designs. Each sketch represents a possibility, a path to explore. Some of these ideas will eventually mature and evolve into more refined designs.”